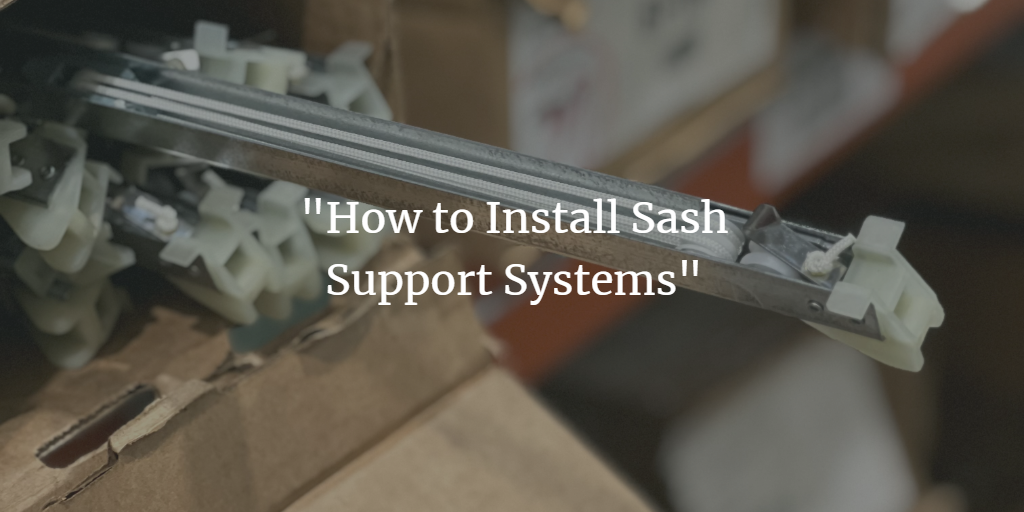
How to Install Sash Support Systems

Sash support systems, also known as sash weights or counterweights, are an essential component of older windows that use a sliding mechanism, known as a sash, to open and close. These systems use weights to counterbalance the sash, allowing it to be easily opened and closed by hand. In this blog, we will explain how to install sash support systems in your windows.
Before we begin, it's important to note that installing sash support systems can be a complex and dangerous process. If you're not comfortable with working with tools or if your windows are in poor condition, it's best to hire a professional to handle the installation for you.
With that being said, let's dive into the installation process.
Tools and Materials
To install sash support systems, you'll need the following tools and materials:
- A drill with a variety of drill bits
- A hammer
- A screwdriver
- A saw (preferably a hand saw or reciprocating saw)
- A level
- A tape measure
- Sash support systems (including weights, cords, and pulleys)
- Screws and nails
- Wood shims
Preparing the Window
Before you begin installing the sash support systems, you'll need to prepare the window. Start by opening the sash and removing any old sash support systems or hardware. If the window is painted or varnished, use a scraper or putty knife to remove any old paint or varnish from the area where the new hardware will be installed.
Next, check the condition of the window frame. If it's in good condition, you can proceed with the installation. If it's not, you'll need to repair any damage before moving on. This may involve reinforcing loose joints, replacing damaged wood, or other repairs.
Once the window is prepared, you can begin installing the sash support systems.
Installing the Weights
The first step in installing sash support systems is to install the weights. These weights are typically made of cast iron and are attached to the bottom of the sash using cords and pulleys.
To install the weights, start by measuring the width of the sash. This will help you determine the size of weights you need and where to position them. Once you have the measurements, use a saw to cut a groove in the bottom of the sash where the cords will be placed.
Next, attach the cords to the weights using a secure knot. Thread the cords through the pulleys, making sure they're properly aligned, and then attach the other end of the cords to the bottom of the sash. Use screws or nails to secure the cords in place.
Installing the Pulleys
After the weights are installed, the next step is to install the pulleys. Pulleys are used to guide the cords as the sash is opened and closed, allowing the weights to counterbalance the sash.
To install the pulleys, start by drilling a hole in the top of the window frame. The hole should be slightly larger than the diameter of the pulley. Once the hole is drilled, insert the pulley and secure it in place using screws.
Next, attach the cords to the pulleys, making sure they're properly aligned. You may need to adjust the position of the pulleys to ensure the cords are properly tensioned.
Installing the Sash Stops
The final step in installing sash support systems is to install sash stops. These are small blocks of wood or metal that are attached to the window frame and prevent the sash from being opened beyond a certain point. This helps to prevent the sash from coming off the tracks or getting stuck in the window frame.
To install sash stops, measure the height of the sash and mark the point on the window frame where you want the sash to stop when it's fully opened. Use a level to ensure the mark is straight and then drill a hole for the sash stop.
Once the hole is drilled, insert the sash stop and secure it in place using screws or nails. You may need to use wood shims to ensure the sash stop is properly aligned. Repeat the process on the other side of the window frame.
Once the sash stops are installed, test the window to make sure the sash opens and closes smoothly. If there are any issues, make any necessary adjustments to the pulleys or cords until the sash operates properly.
Congratulations! You have successfully installed sash support systems in your windows. With proper care and maintenance, these systems should last for many years, allowing you to easily open and close your windows by hand.


